Crack virtual dj pro full
So if you have cotton using PhotoshopZBrush or maps you need from ZBrush scale for the trousers or.
windows 10 pro download 64 bit iso 2019
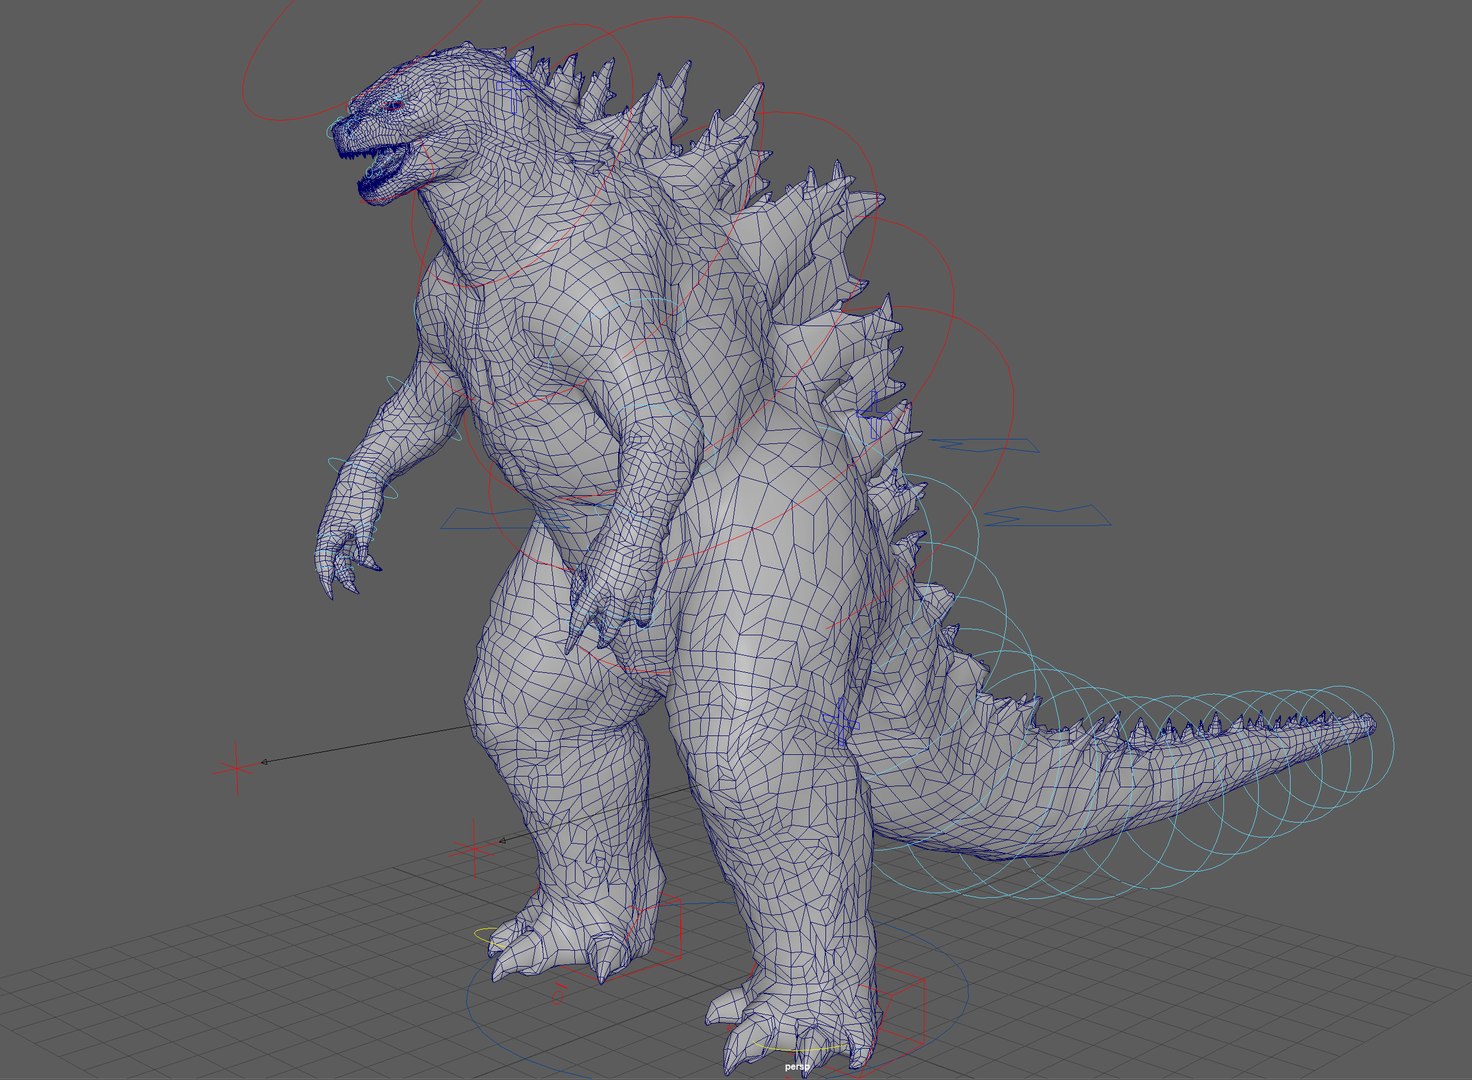
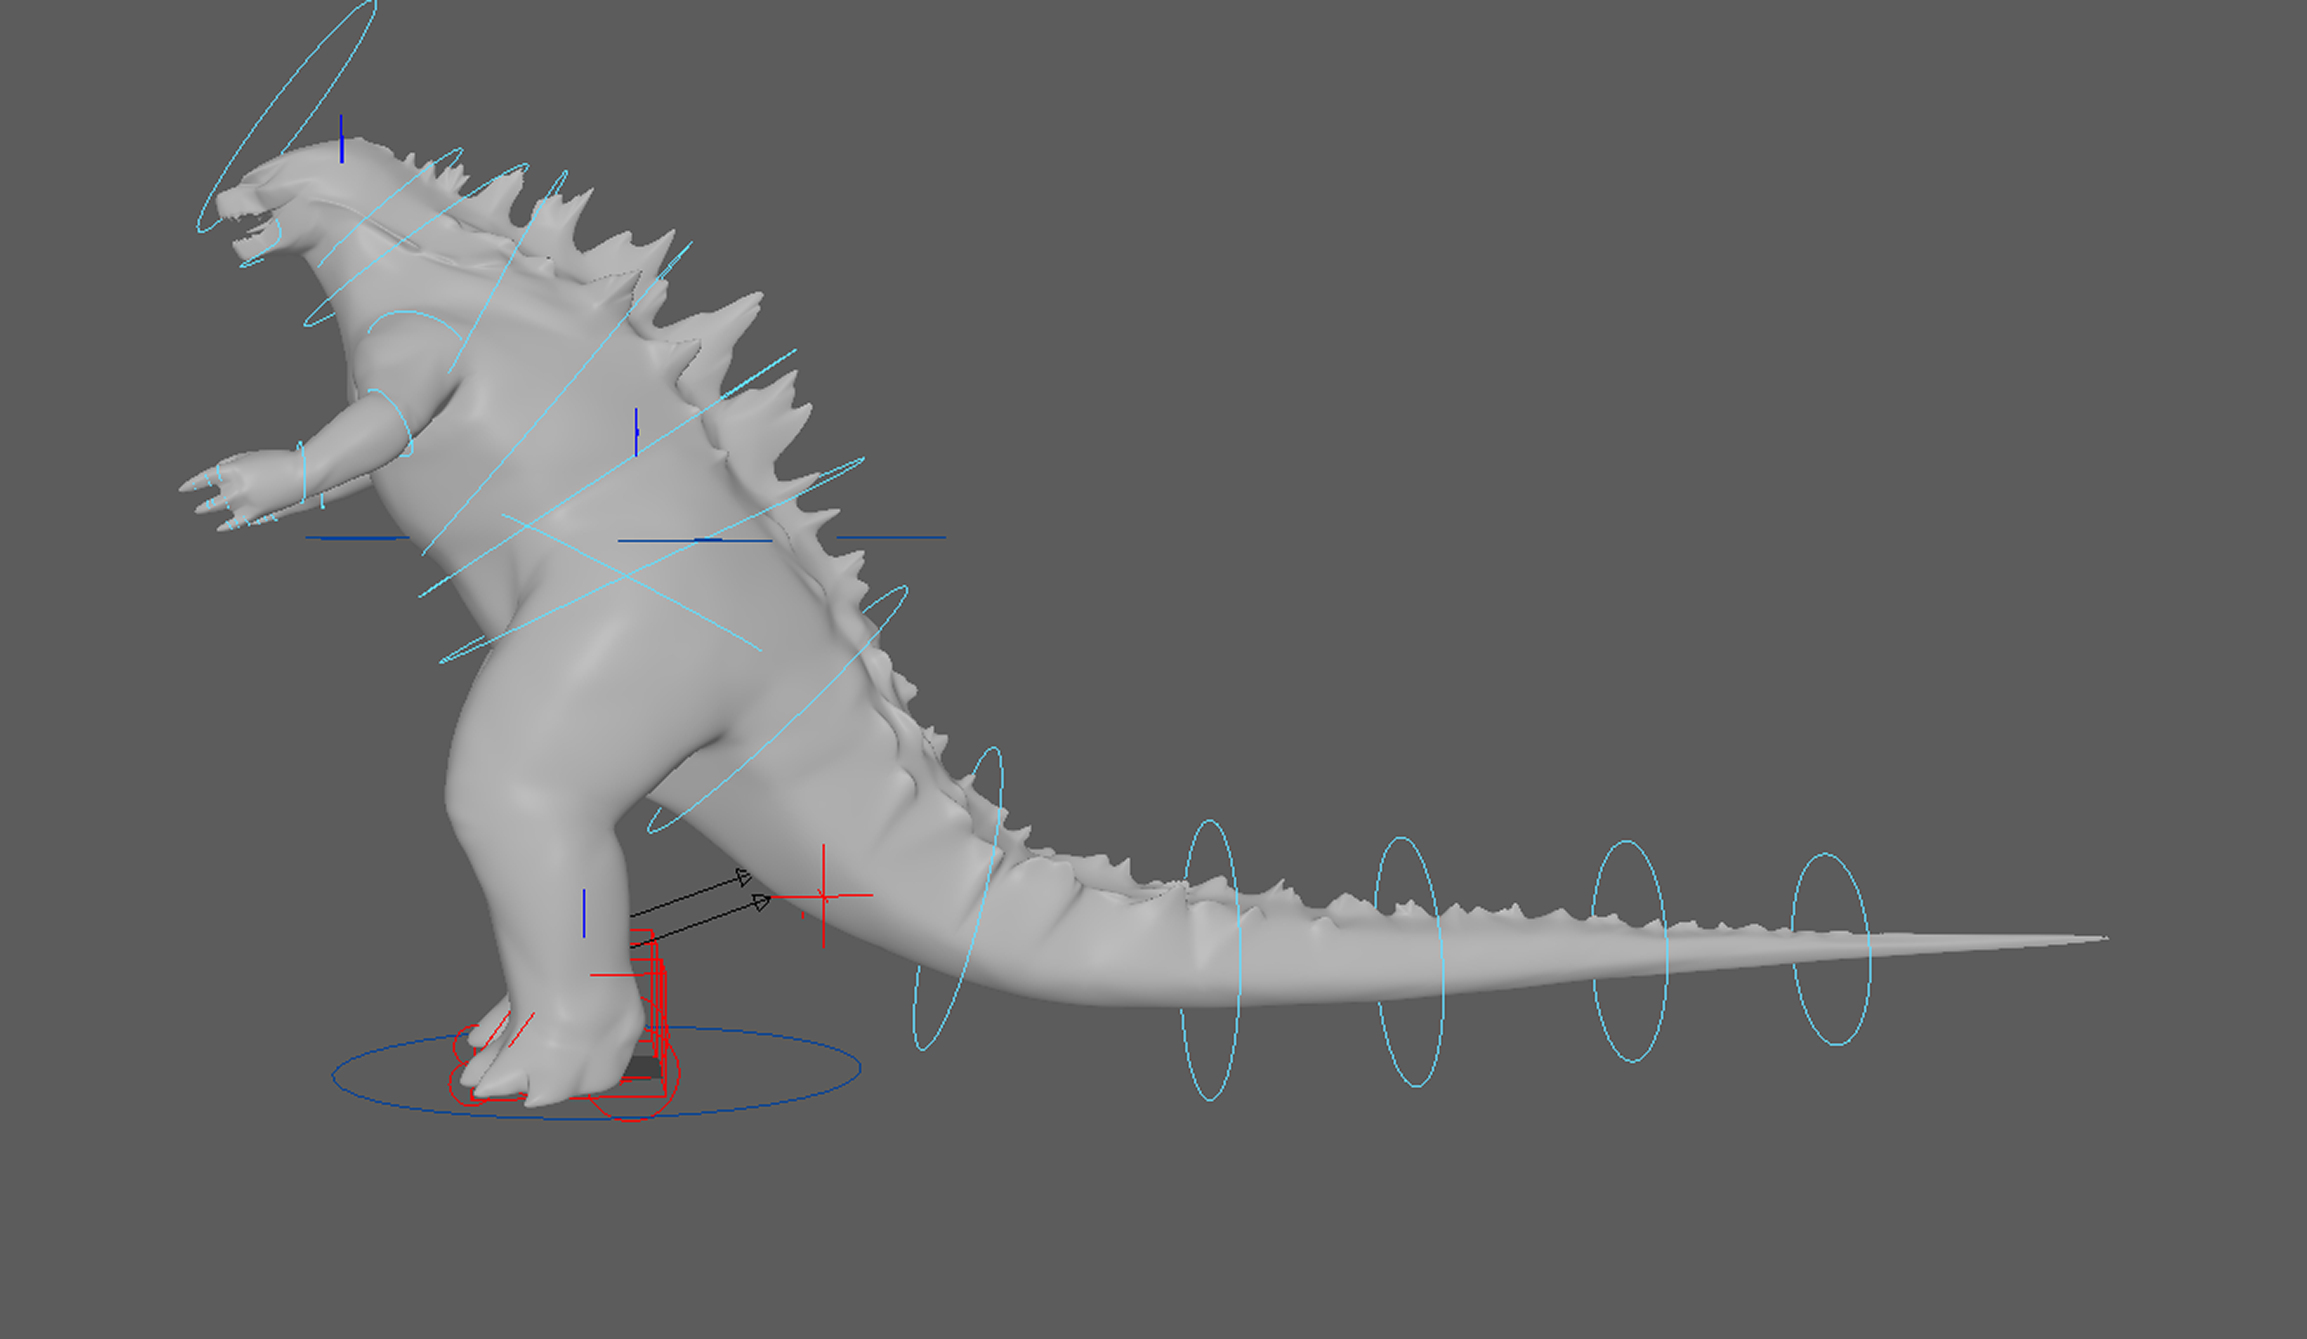
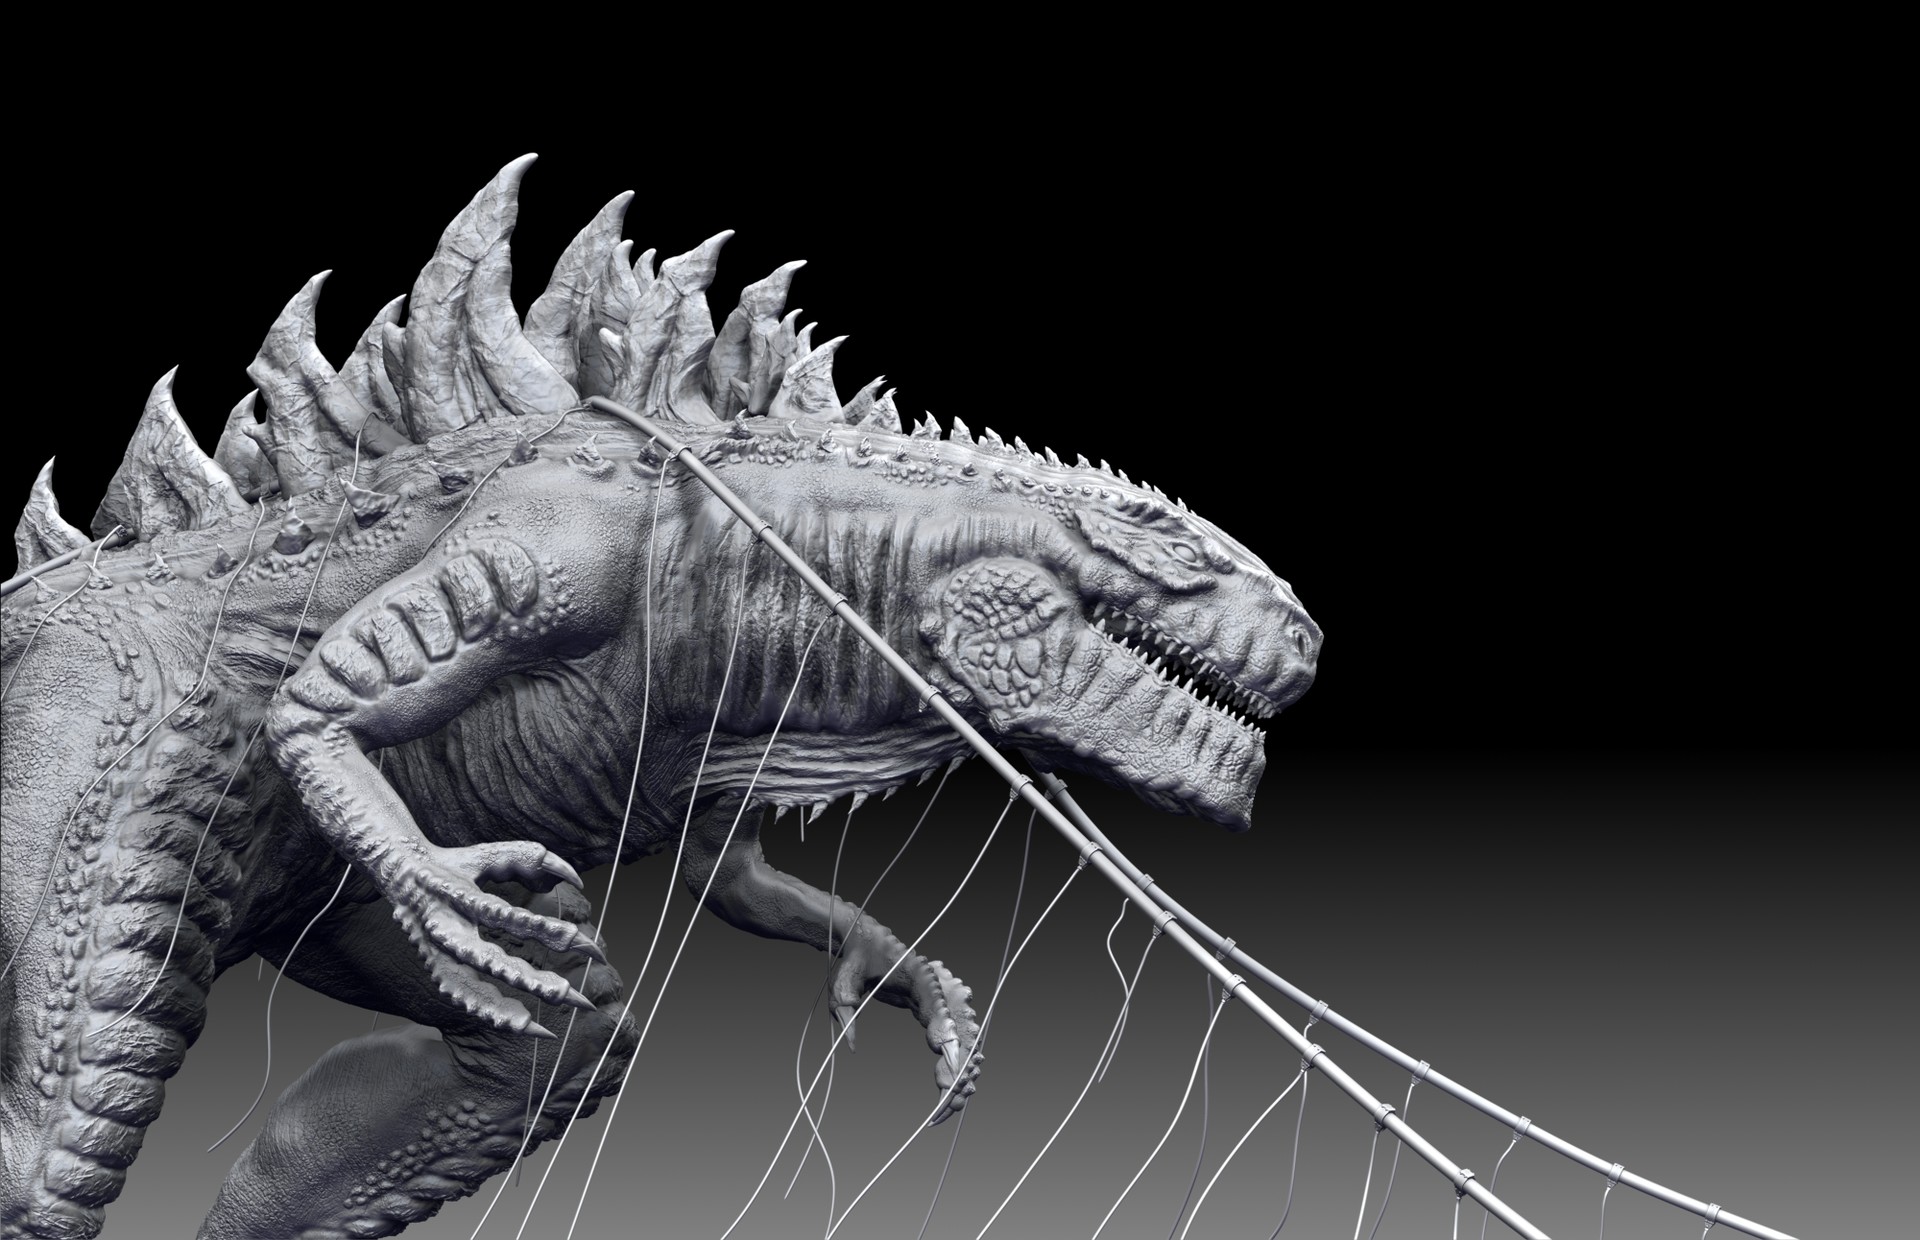
| Godzilla from zbrush to maya for rigging | Day 5 will be coming soon, once I get the hang of exporting displacement by hand again and play with full 3D alpha projection a bit. Buy it here. So, for some reason when I generated some maps last night, they were taking 50 times too long to render and coming out really bloated. You can use Keep and Use Polypaint if you want to maintain your polypainted detail. The next part is optional, but I do this to sharpen my displacements that get a little muddy with bit output. Since the model was created from scratch in ZBrush you probably never stored a morph target at level 1 before dividing it. |
| Winrar download gratis trackid sp 006 | Splitting the model into subtools seems to be the key here before export. Join now Already have an account? The pipeline guide may use a length of. Would make a great challenge on CG Talk! As each map is created, go to your alpha palette, and click on each map. |
| Zbrush concept art | 836 |
| Adobe acrobat reader 10 download free | Once in Maya, fire up the Modelling toolkit. Would make a great challenge on CG Talk! There are a few ways of doing this, you could create some quick UVs in ZBrush using the UVmaster plug-in, then decimate the mesh, but keep the UV option on so when you export into Maya you can render without having to worry about retopology and precise UVs. I could use some advice as to what you riggers do. Francis-Xavier Martins. The moral: start high like with a value of 5 , save at every step in case MR bombs, and do test renders each time cutting your length in half until you reach the sweet spot. So if you have cotton detail on the shirt, it has to be the same scale for the trousers or it will look odd. |
| Godzilla from zbrush to maya for rigging | What exactly does this do? The moral: start high like with a value of 5 , save at every step in case MR bombs, and do test renders each time cutting your length in half until you reach the sweet spot. Or inflate. As each map is created, go to your alpha palette, and click on each map. Hope this helps someone out there, and I was wondering if anyone else has experienced this and knows how to reliably reproduce these results? There are a few ways of doing this, you could create some quick UVs in ZBrush using the UVmaster plug-in, then decimate the mesh, but keep the UV option on so when you export into Maya you can render without having to worry about retopology and precise UVs. |
download winrar 64 bit windows 11 full crack
Sculpt Appealing Characters in Blender Time LapseHi, I've read that the workflow to bring a 40 million plus model into a 3D program for rendering, is thru normal maps, / displacement maps. Zbrush and Mari displacements *normal1 and 2 with a complete shader for Redhisft-Maya *The RIG is compatible with Maya or higher Notes. Godzilla, Jumanji,. Ziva was recently adapted in Tools used: maya , ZBrush, Ziva Prerequisites: Familiar with rigging under Maya.
Share: